WHETHER YOU’RE BRAND NEW TO THE GYM OR YOU’RE A SEASONED VETERAN OF THE IRON JUNGLE, THERE IS 1 RULE YOU NEED TO FOLLOW BEFORE YOU EVER STEP FOOT INTO THE GYM:
Always have a plan.
Typically, if you don’t, there are going to be 3 possible outcomes:
1. You don’t go to the gym at all.
2. You go to the gym, but you just walk around like a dingus trying to figure out what exercise you’re gonna waddle over to next.
3. You go to the gym and you lift hard, but it’s probably the same type of crap you’ve always done. This eventually leads to a plateau or staleness – or both.

Any of these sound familiar?
I sure as shit think they do. They’ve all happened to me multiple times within the past 7 years of consistent lifting.
Luckily, I’ve minimized these issues over time by having a coach, making my own workout plans, or by finding some free ones on the Interwebz.
Can’t afford to hire a coach and don’t feel like rummaging through the endless pits of Google?
No worries, you’ve found the correct corner of the Internet to solve your problem.
Because today, I am going to show you the 5 steps to creating your own training program to help you build muscle, lose fat, and not make you want to punch yourself in the face every time you take a step through the gym doors.
/Side-bar: if you want a FREE 30-Day Training Program, Nutrition Resource, & Supplementation Guide that already utilizes all of these steps I’m about to list, in a crisp PDF file: click the button below, tell me where to send it, and receive it within 60 seconds.Send Me Ultimate Physique Development
STEP 1 – PICK ONE EXERCISE FROM EACH CATEGORY BELOW
*How to know which to choose? Make sure the exercise is comfortable, you feel strong and in control while doing it, and you enjoy it (even in a “it kicks my ass” type of way).*
**If you don’t know what one of these exercises are, there’s these two sick new websites called Google and YouTube. Type them in and add “tutorial”. Boom. Technology. You’re welcome.**
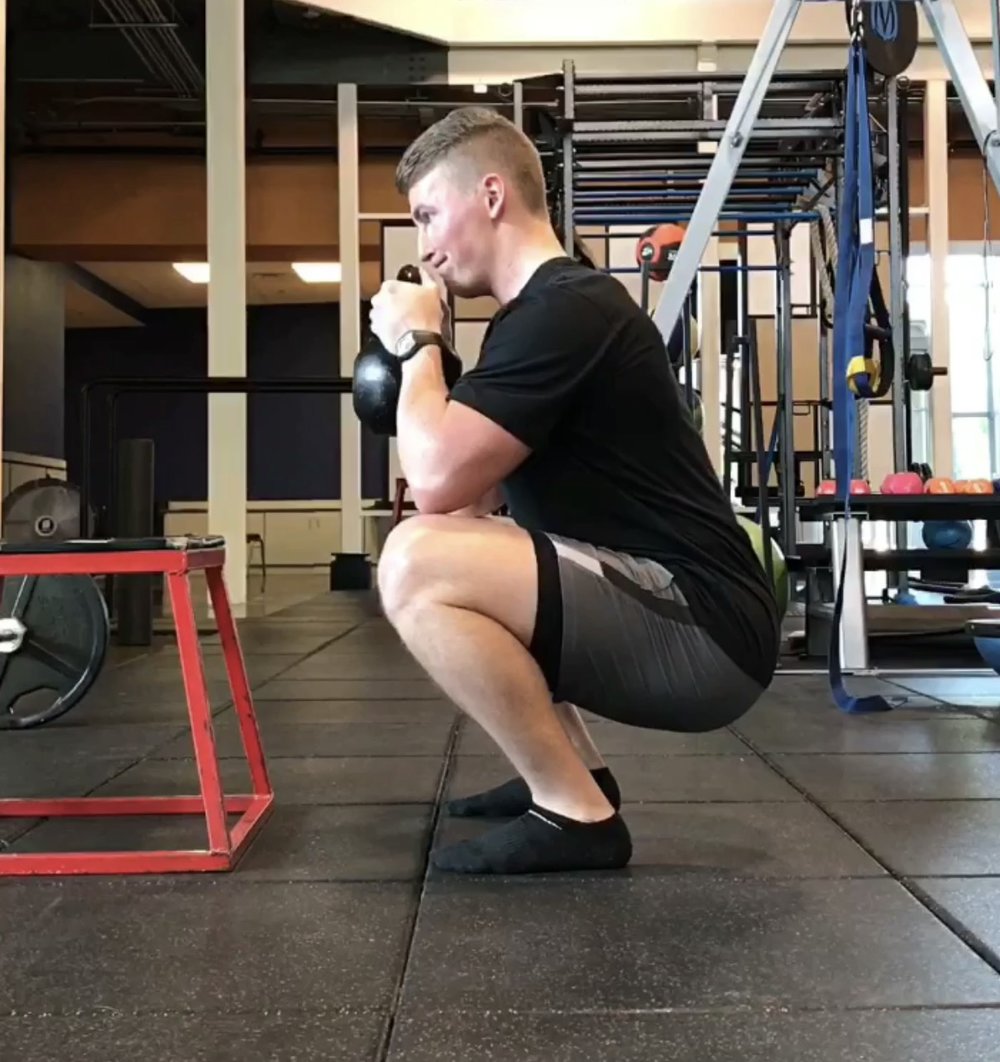
- Category 1: Quad-Dominant Exercises
- Back Squat/Box Squat
- Front Squat
- Bulgarian Split-Squat
- Landmine Squat
- Step-Up
- Reverse Lunge
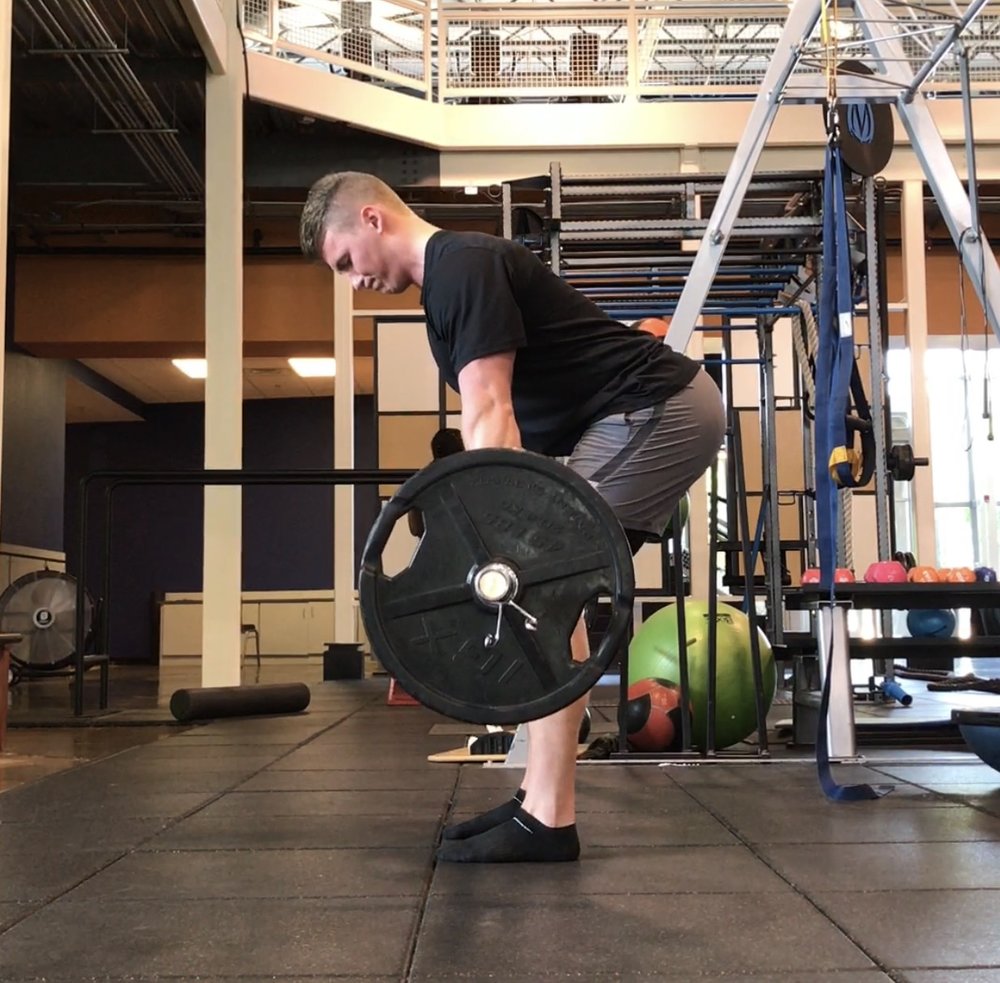
- Category 2: Hip-Dominant Exercises
- Deadlift
- Kettlebell Deadlift
- Trap-Bar Deadlift
- Romanian Deadlift (Barbell or DB)
- Glute-Focused Back Extensions
- Glute Bridge
- Hip Thrust
- Rope Pull-Through
- Category 3: Horizontal Press Exercises
- Bench Press (Barbell or DB)
- Incline Bench Press (Barbell or DB)
- Push-Up
- DB Hex Press
- Hammer Strength Press (would recommend above choices, first, if possible)

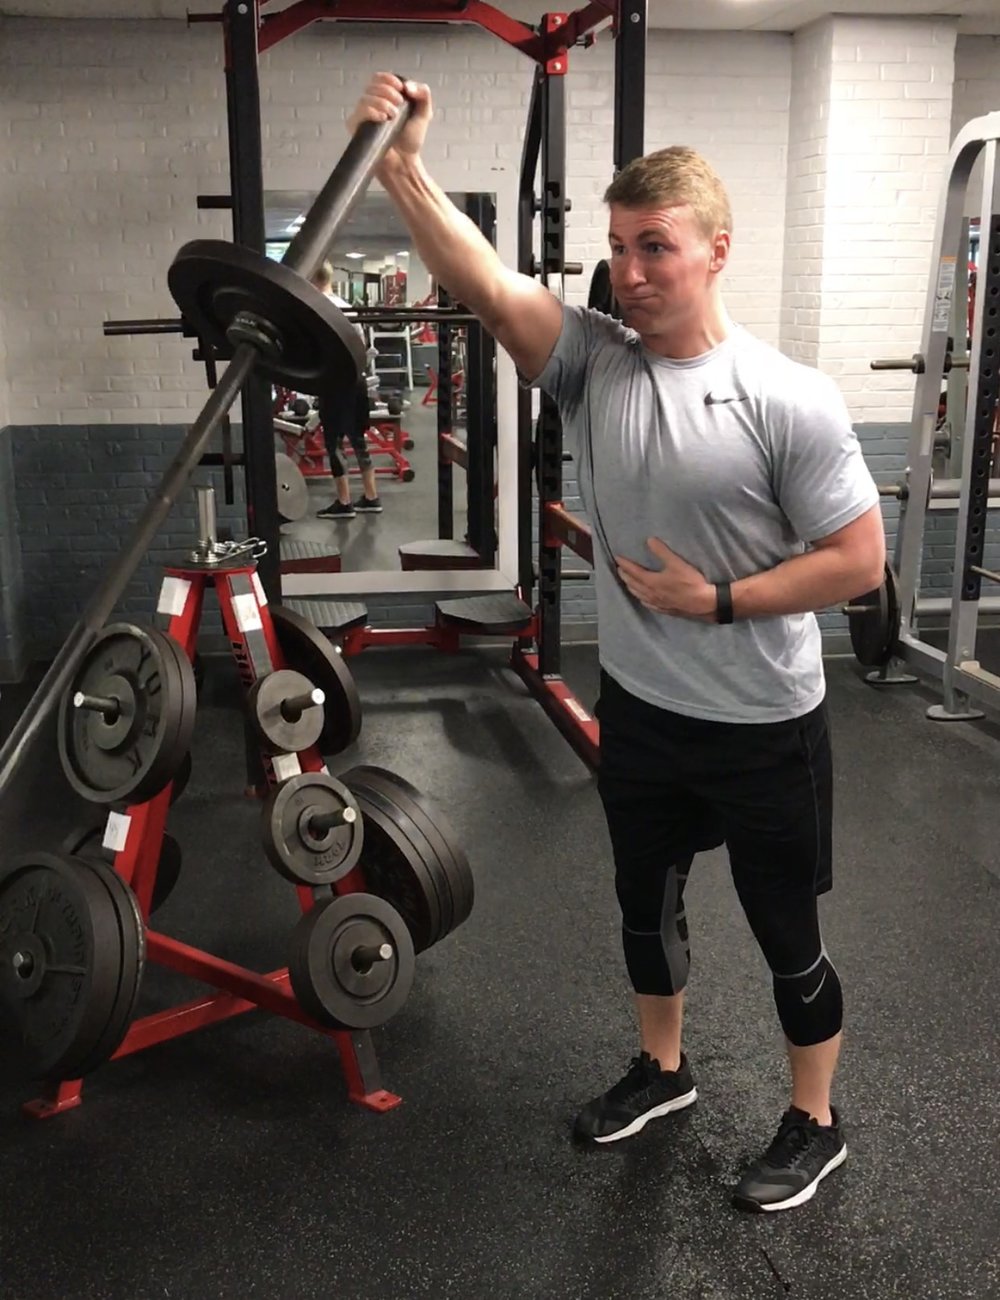
- Category 4: Vertical Press Exercises
- Shoulder Press (Barbell or Dumbbell)
- Neutral Grip DB Shoulder Press
- Push Press (Barbell or Dumbbell)
- Landmine Press
- One Arm DB Shoulder Press
- Hammer Strength Press (would recommend above choices, first, if possible)
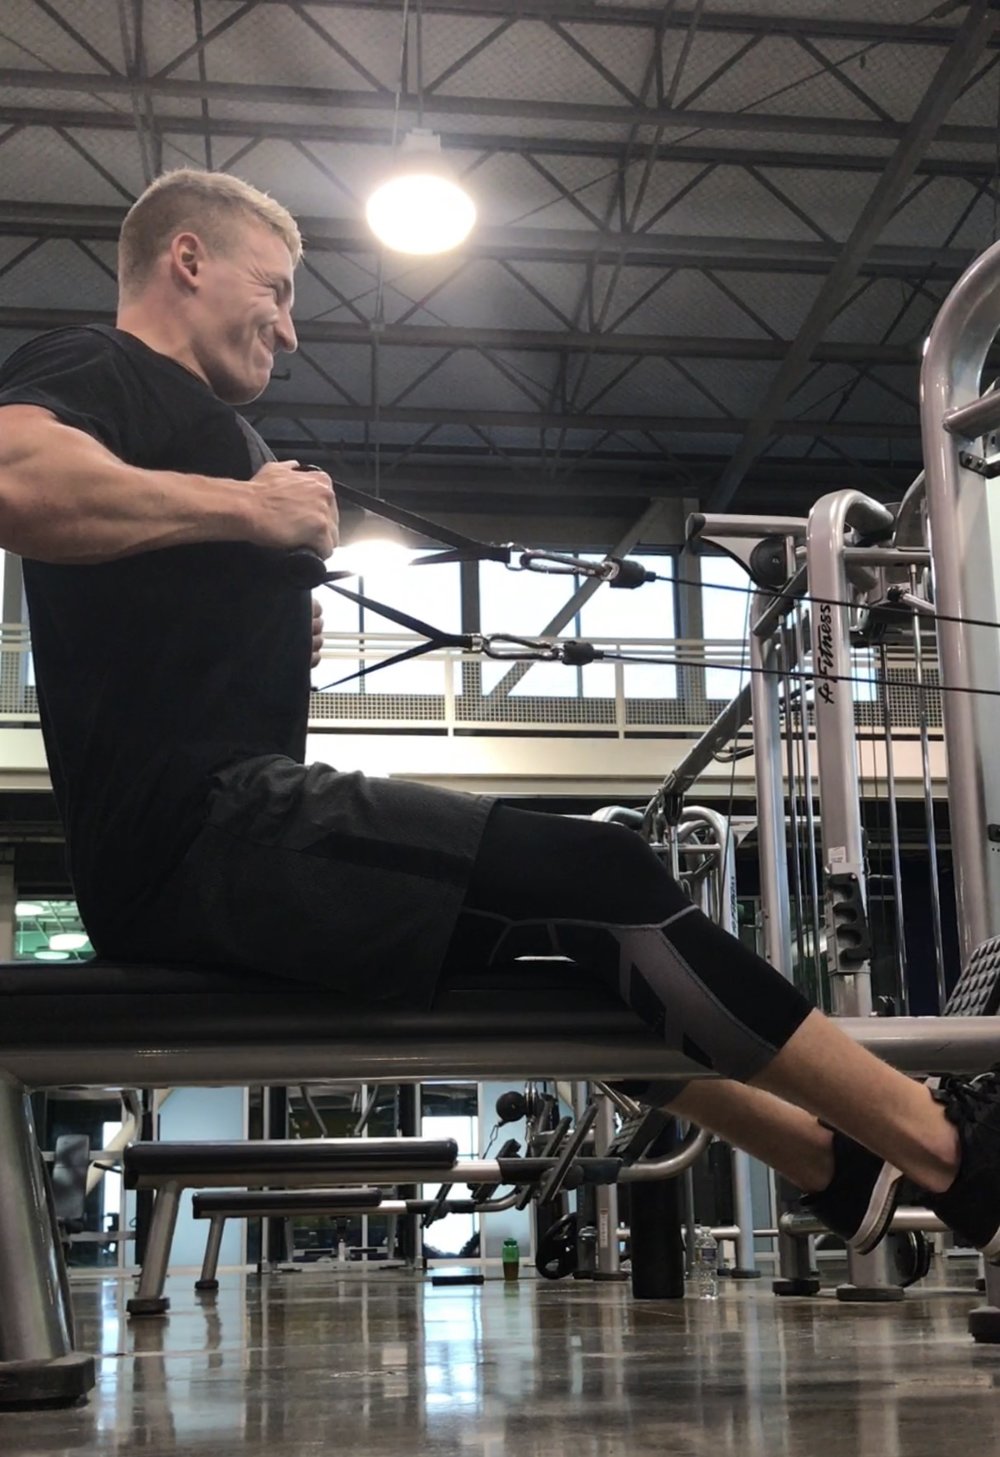
- Category 5: Horizontal Pulling Exercises
- Dumbbell or Barbell Rows
- Smith Machine Rows
- Seated Cable Rows
- Chest Supported Rows
- Inverted Rows
- Category 6: Vertical Pulling Exercises
- Pull-Up/Chin-Up/Palms Facing Pull-Up
- Eccentric Only Chin Up
- Assisted Pull-Ups
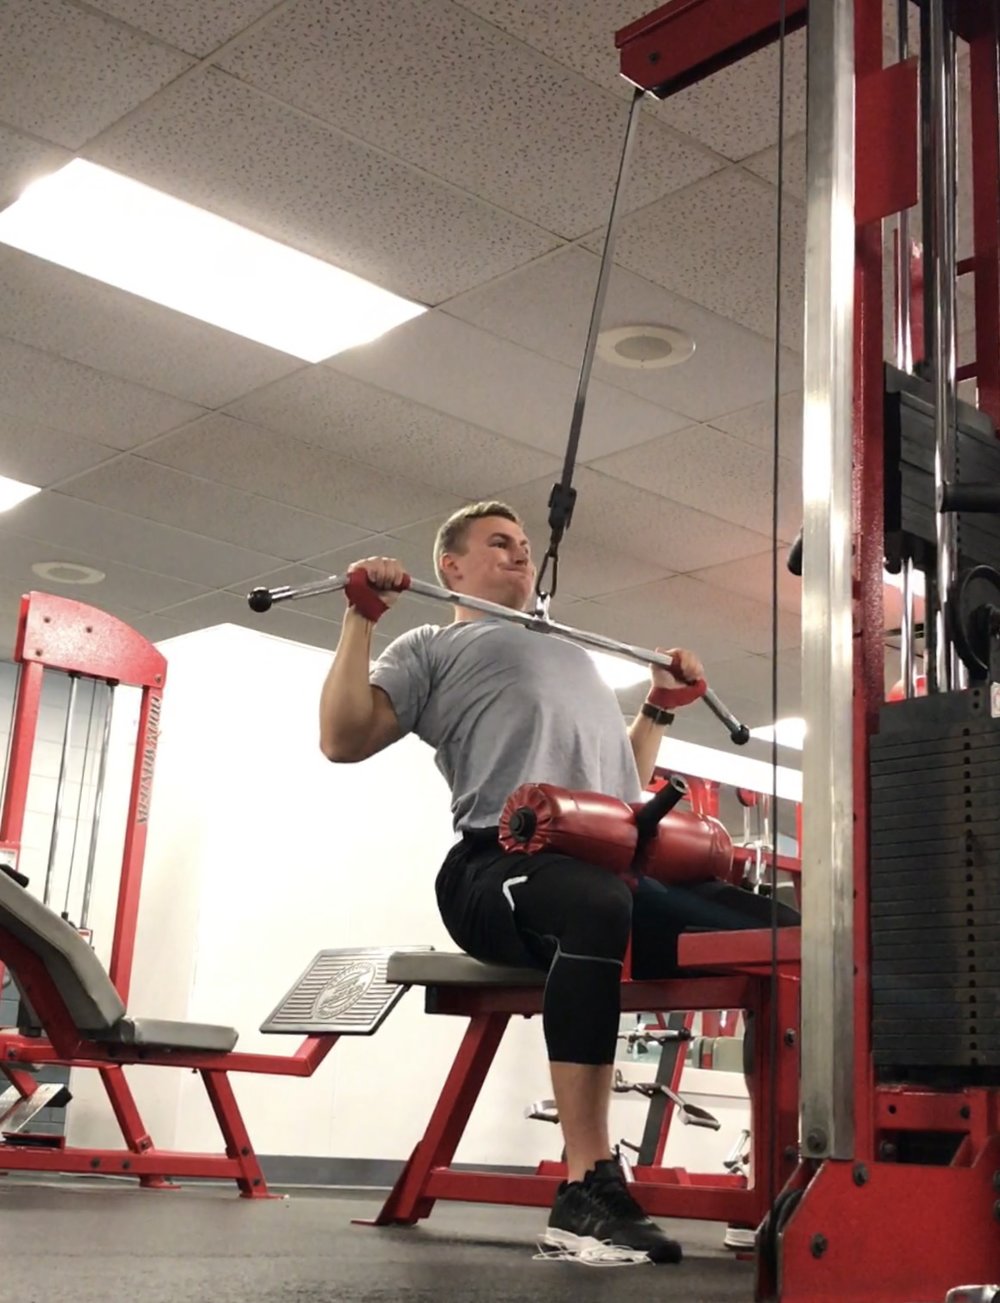
- Lat Pulldown (all variations)
- Hammer Strength Pulldowns (would recommend above choices, first, if possible)
- Category 7: Anterior Core Exercises
- Front Plank
- RKC Plank
- Any type of crunch
- Ab Rollout
- Leg Raises

- Category 8: Lateral or Rotary Core Exercises
- Pallof Press
- One Arm Farmers Carry
- Side Plank
- Shoulder Taps

Picked one of each? Yes? Good.
That is Day 1 of your new program.
If you workout multiple times per week, I want you to repeat choosing 1 exercise from each category, but I want it to be a different exercise than what you’ve already picked. This will make up the rest of your days. More details soon, keep readin’.
STEP 2 – SETS & REPS
If you haven’t done step 1 yet, scroll your disobedient ass back up and do step 1.
…
Okay, now that you’ve done step 1, let’s cover step 2 which will be how many sets and reps you need to perform.
These are the rules you need to follow:
- If you can do more than 15 to 20 reps in one set, the weight is too light.
- If you can’t get at least 6 to 8 quality reps in one set, the weight is too heavy.
- If you’re feeling good and strong, go a little heavier and really challenge yourself. If you got bad sleep the night before or had a stressful day at work, use a little lighter weight, but make sure it’s still heavy enough to challenge you in that higher rep range.
- Perform 2 to 5 sets per exercise.
- The more advanced of a lifter you are, lean more towards the higher end. And vice versa. Also, if you’ve normally been doing 4 sets each and you’re really sore…scale it back a bit
- Rest 1 to 3 minutes in-between each set OR just rest as long as you need to optimally perform your next set.
STEP 3 – PICKING YOUR TRAINING FREQUENCY
Real quick, “training frequency” is just a fancy term for how often you workout and/or how often you hit a certain body part.
So, to just keep things simple, I would recommend lifting 2 to 4 times per week. More is not better, less is not better – the best training frequency is the one you can stick to consistently. The perfect 4 day plan doesn’t work if you can only make it to the gym 2 days a week.
If you haven’t been lifting a while (less than a year of consistent lifting), start on the lower end (2 days) and work your way up.
If you’ve been lifting a while (over a year of consistent lifting), start with 3 or 4 and adjust as needed.
If you currently lift 4 or more times per week and prefer doing an upper body/lower body/upper body/lower body training split, feel free to check out my free training program I already made for you (along with bonus specialization workouts).
STEP 4 – HOW TO TRACK YOUR PROGRESS
Probably the most important thing you can do when it comes to the gym and ensuring you make progress over time: tracking.
We all know, myself included, that while it may be the most important, it’s also the thing we usually skip (just me, maybe?).
Why do we not track?
We make it WAY more complicated than it needs to be.
We tend to think we need some fancy app or we need to write down everything from our color of compression shorts to how many drops of sweat we produced.
In most cases, less is more. This case, specifically, because we want a tracking method that is efficient enough to ensure progress, but not so advanced that it causes us any friction from actually doing it.
So, here are three ways you can use to track your progress:
- You increased weight from the previous week
- i.e. Week 1 you benched 135 lbs for 5 reps. Week 2 you hit 140 lbs for 5 reps.
- You increased total reps from the previous week
- i.e. Week 1 you benched 135 for 5 reps. Week 2 you hit 135 for 6 reps.
- You increased total sets from the previous week
- i.e. Week 1 you benched 135 for 3 sets of 5 reps. Week 2 you hit 4 sets of 135 for 5 reps.
If you’ve accomplished any of these three, you have made progress.
Now, I need you to understand that progress does not always happen in a linear fashion. Don’t expect to always (it can still happen) make progress from week-to-week. But you should aim on progressing month-to-month and year-to-year.
It has been shown time and time again that progressive overload (doing more work over time) is the key to gaining muscle.
And the main way to ensure progressive overload: tracking your shit.
STEP 5 – CONSISTENCY > PERFECTION
Let me be crystal clear – you will mess up.
You’re going to fall off track.
However, this shouldn’t worry you, nor surprise you.
I’m gonna tell you why, but first, wanna know something weird?
I HATE brushing my teeth.
I actually hate it.
I hate when I’ve had a long day of work, I’ve eaten my big meal before bed (like I always do), and then I drag myself up the 14,647 steps we have in my apartment with the sole hope of crashing straight on my bed and drifting away into dreamland to only remember one thing…I haven’t brushed my teeth yet and I can’t sleep until I do.
I do have to admit, though, I don’t always hold back from just crashing anyway.
What did you expect? Militant discipline?
Nah.
I’ll say screw it and just go to sleep.
But, here’s the key, when I get up in the morning, what do I do?
I brush my gross, disgusting mouth again.

I don’t beat myself up about not doing it the night before. I don’t think my teeth are gonna rot away and that there’s no hope for me to ever sustain my nightly habit of brushing my teeth. I realize, “ah, I should probably make sure I don’t miss again tonight.”
Then I move on with my life.
I tell you this story about my self-loathing for brushing my teeth because you’re going to mess up and not always make it to the gym when you want to.
Life is going to happen, like it always does, and you’re going to have to miss a day.
Hell, you might even have to miss a week or two.
Life happens.
And you have two options:
- Get back on track and not dwell on what has already happened.
- Cry about it and hate yourself for missing.
I don’t know about you, but number 1 sounds a heckkuvvalot’ better than number 2.
Expect mistakes and slip-ups to happen.
You shouldn’t think about aiming for perfection.
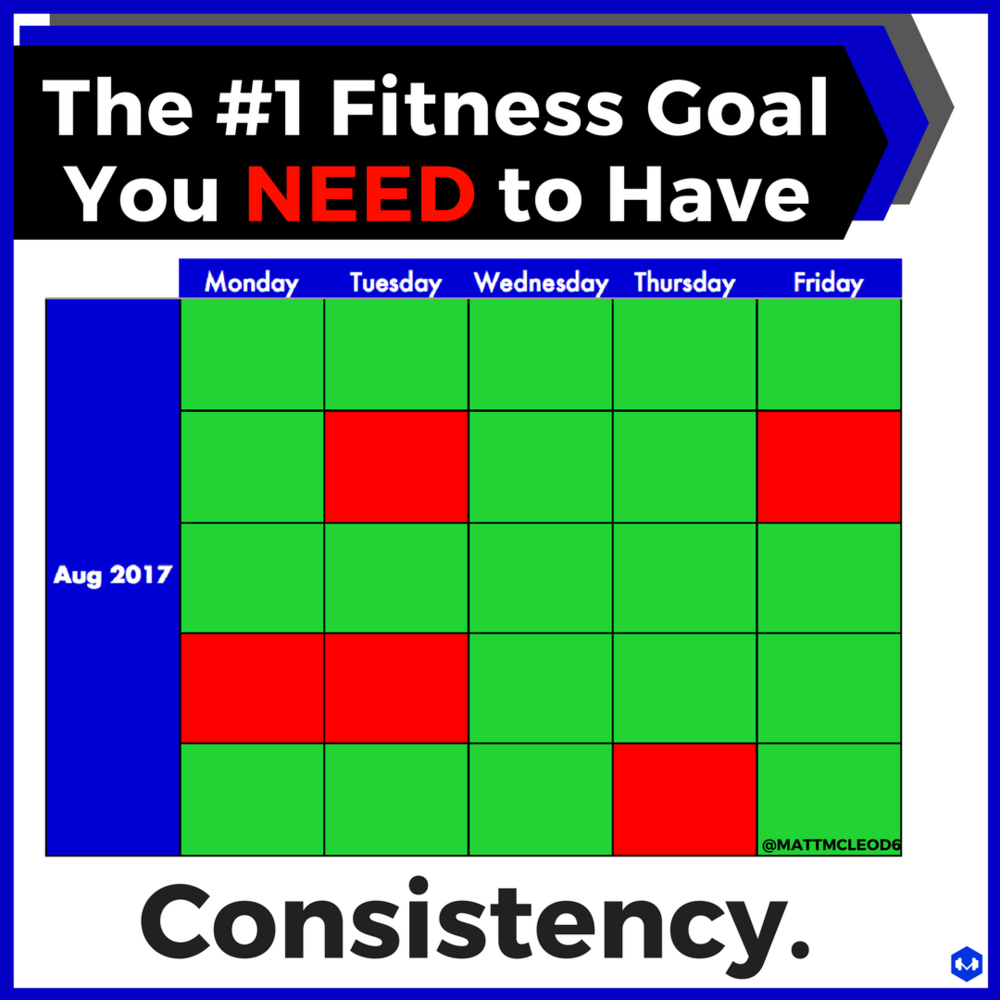
You should think about remaining consistent over the long term. It’s way more sustainable and encouraging than beating yourself up over not being perfect.
As long as you don’t give up, you can never “mess up”.
PUTTING IT ALL TOGETHER
STEP 1 – Pick one exercise from each category and make sure to rotate different exercises throughout the week.
STEP 2 – Sets and reps: if you can do more than 15-20 reps per set, the weight is too light. If you can’t get at least 6-8 quality reps, the weight is too heavy. Perform 2-5 sets per exercise. Rest 1-3 minutes between sets.
STEP 3 – Start by performing the program 2-4 times per week.
STEP 4 – Write down all your workouts and try to move up in either weight or the amount of sets and reps you do over time.
STEP 5 – If you mess up or aren’t maintaining consistent, don’t give up.

0 Comments